
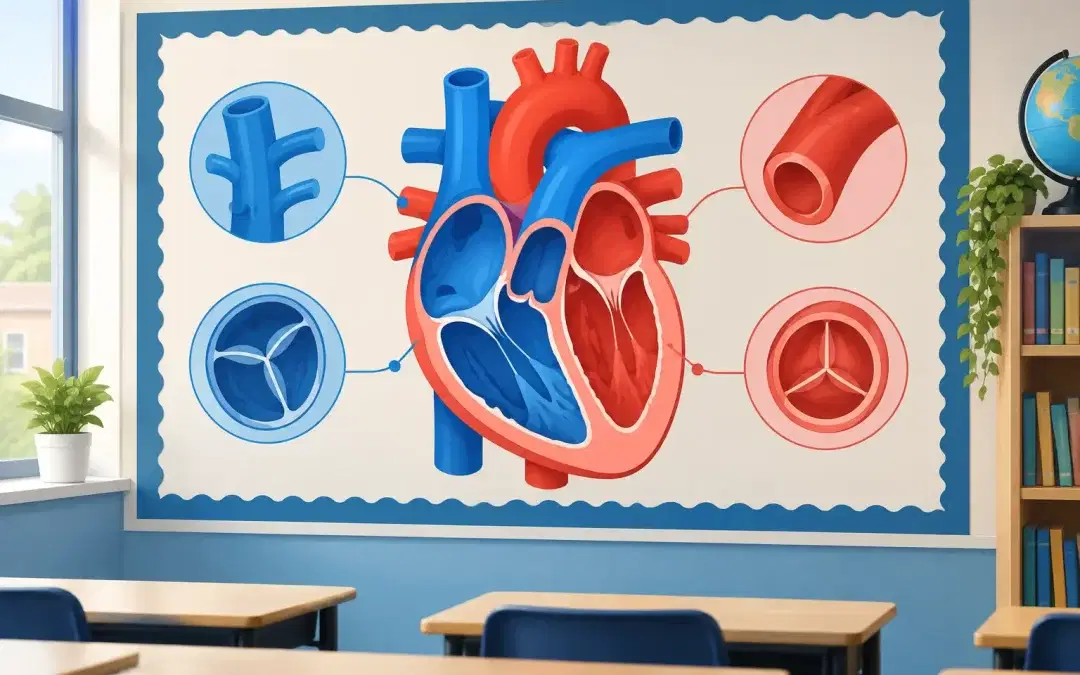
A labelled heart diagram is far more useful when pupils can return to it between lessons, while lining up, or when revising for an assessment. An anatomy of the heart wall display turns a key but complex science topic into a permanent visual prompt, helping pupils connect vocabulary, structure and function without relying on one textbook page or one lesson slide.
For busy schools, this is also a practical way to make science visible beyond the classroom. A well-positioned display can turn an ordinary corridor, science department wall or shared learning area into a passive learning opportunity that supports retrieval, sparks questions and gives pupils confidence with subject-specific language.
Why the heart works so well as a wall display topic
The heart is an ideal subject for large-format visual learning because it is both familiar and challenging. Pupils know that the heart pumps blood, but they need time and repeated exposure to understand how its chambers, valves, blood vessels and muscular walls work together. A clear display gives them that repeated exposure in a format they can revisit independently.
At primary level, a display may introduce the heart as a muscular organ that pumps blood around the body, alongside simple labels for the chambers and major vessels. In secondary science, it can support more detailed learning about the right and left sides of the heart, oxygenated and deoxygenated blood, the role of the septum, and the route blood follows through pulmonary and systemic circulation.
The value is not simply decorative. When pupils see terms such as atrium, ventricle, aorta and vena cava regularly, they become less unfamiliar. That familiarity can make it easier for teachers to build accurate explanations in class and for pupils to recall vocabulary when writing, discussing practical work or revising.
What an anatomy of the heart wall display should show
The most effective display balances scientific accuracy with visual clarity. It should help pupils see the journey rather than presenting a crowded collection of labels. Colour-coding is especially useful: one colour can show deoxygenated blood returning to the heart and travelling to the lungs, while another shows oxygenated blood returning from the lungs and moving out to the body.
The essential structures
For a curriculum-aligned anatomy of the heart wall display, the central illustration should clearly identify the right atrium and right ventricle, the left atrium and left ventricle, the septum, the aorta, vena cava, pulmonary artery and pulmonary veins. Including the valves can add useful depth for older pupils, provided labels remain readable from a sensible viewing distance.
The left ventricle deserves particular emphasis. Its thicker muscular wall is a strong visual example of how structure relates to function: it must generate enough pressure to pump blood around the whole body. This gives teachers a simple, memorable point to revisit during lessons and gives pupils a visible cue for explaining their understanding.
The flow of blood
A display is strongest when arrows make blood flow immediately understandable. Pupils should be able to trace the route from the body into the right side of the heart, onwards to the lungs, back into the left side, and then through the aorta to the body.
This visual sequence supports more than recall. It helps pupils correct common misconceptions, such as believing that all arteries carry oxygenated blood or that the heart contains only one pumping chamber. The pulmonary artery and pulmonary veins are particularly useful teaching points because they show that vessels are named by the direction of blood flow, not simply by oxygen content.
Language pupils can use with confidence
A display should use precise terminology, but it does not need to feel inaccessible. Short supporting statements can explain the role of each section in plain, age-appropriate language. For example, an atrium receives blood, a ventricle pumps blood away from the heart, and valves prevent blood from flowing backwards.
For secondary settings, concise prompts can encourage deeper thinking: Why is the left ventricle thicker? What happens when valves do not close properly? Why does the heart need its own blood supply? These questions make the wall an extension of staff-led teaching rather than a static poster.
Where to position a heart anatomy display
Placement affects how often a display is used. A science classroom is an obvious choice, particularly beside a working wall, practical area or revision space. Here, teachers can refer to it during demonstrations, quick quizzes and exam preparation without needing to bring up a separate image.
A department corridor can be equally effective. It gives pupils a chance to revisit learning as they move between lessons and helps communicate the identity of the science curriculum across the school. In a shared corridor, a heart display can sit within a wider biology sequence covering cells, organs, respiration, circulation and healthy lifestyles.
For primary schools, consider a central learning corridor or an area close to a class studying animals including humans. The display should be at a height where pupils can comfortably read labels and point to structures during discussion. If it is placed too high, it may look impressive but lose much of its teaching value.
Outdoor placement can work where a covered walkway, playground learning zone or external science area is used regularly. However, material choice matters. Interior displays are suited to indoor wall surfaces, while exterior locations need panels designed to withstand weather, temperature changes and regular contact.
Choosing materials that stand up to school life
A display intended for constant daily use needs more than a strong design. School walls face bags, chairs, cleaning routines, busy transitions and the occasional curious hand. The material should be durable, practical to maintain and straightforward for site teams to install.
For indoor locations, rigid foam-board panels provide a clean, professional finish while remaining manageable for in-house installation. A wipe-clean protective laminate helps the display remain presentable in corridors, classrooms and dining areas where marks are part of everyday life. UV-stable inks also help preserve clear colours and legible detail over time.
For outdoor walls, weatherproof composite-aluminium panels are the more suitable option. They provide the durability needed for exposed school environments while maintaining the bold, high-contrast graphics pupils need to read at a distance. Choosing the right substrate at the start avoids the false economy of replacing a display that was never designed for its location.
Panel format is worth considering too. Large, uninterrupted artwork can be visually striking, but manageable panel sizes often make delivery, handling and installation easier for schools. The best solution depends on wall dimensions, access, fixing requirements and whether the display needs to work around doors, windows, radiators or existing noticeboards.
Make the display part of teaching, not background decoration
The real impact comes from use. A heart display can support a two-minute retrieval task at the start of a lesson, with pupils tracing the path of blood or identifying a labelled vessel. It can prompt paired discussion while pupils wait for equipment, or provide a visual reference during writing tasks where they explain how the circulatory system works.
Teachers can also use it to differentiate. Younger pupils may focus on the heart as a pump and identify the main vessels. Older pupils can compare pressure in different chambers, explain double circulation or connect the diagram to exercise, gas exchange and coronary heart disease. One well-designed visual can support several stages of learning when questions are adjusted to the class.
Customisation adds further value where schools want the display to feel part of their own environment. A school can incorporate its colours, logo or a consistent science department visual style, helping the corridor feel intentional and cared for. Wall Graphics for Schools can also adapt layouts to suit a particular wall or wider themed installation, allowing curriculum content and school identity to work together.
A visible prompt for healthier science conversations
The heart naturally opens thoughtful conversations about physical activity, balanced lifestyles and how bodies respond to exercise. These discussions should remain factual and inclusive, avoiding messages that reduce health to appearance or assume every pupil has the same experience of sport and wellbeing.
Used carefully, a display can help pupils understand why their heart rate changes during activity, why oxygen is needed by muscles and why rest and recovery matter. It can also create space for respectful discussion of medical conditions, disability and the fact that not every heart works in exactly the same way.
Blank walls cannot reinforce yesterday’s learning or invite tomorrow’s question. A clear, durable heart display gives pupils a familiar scientific reference point, ready whenever curiosity, revision or a well-timed teacher prompt brings it into focus.